Milestone Interconnect and XProtect Smart Client operation
Setup
Interconnected cameras appear in the XProtect Smart Client’s list of cameras like any other regular cameras, and they have the same properties and are added to views the same way regular cameras are.
Live
Interconnected cameras are displayed live in the views the same way as regular cameras are, and have the same functions on the camera toolbar as regular cameras do regardless of whether they are recorded in the central XProtect Corporate site, on both sites, or only at the remote interconnected site.
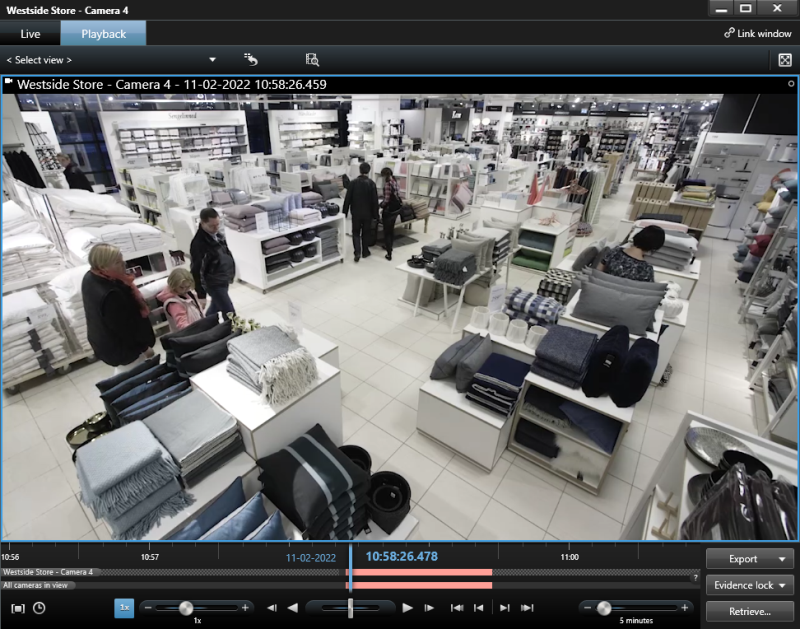
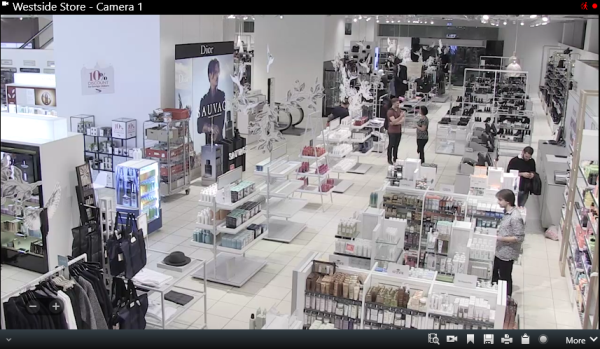
The screenshot shows an interconnected camera in the XProtect Smart Client in live mode, showing the camera toolbar with available functions.
Playback remote recordings
When interconnected cameras are configured to play back recordings directly from the remote site, they appear in the XProtect Smart Client and show the timeline just like any other regular camera.
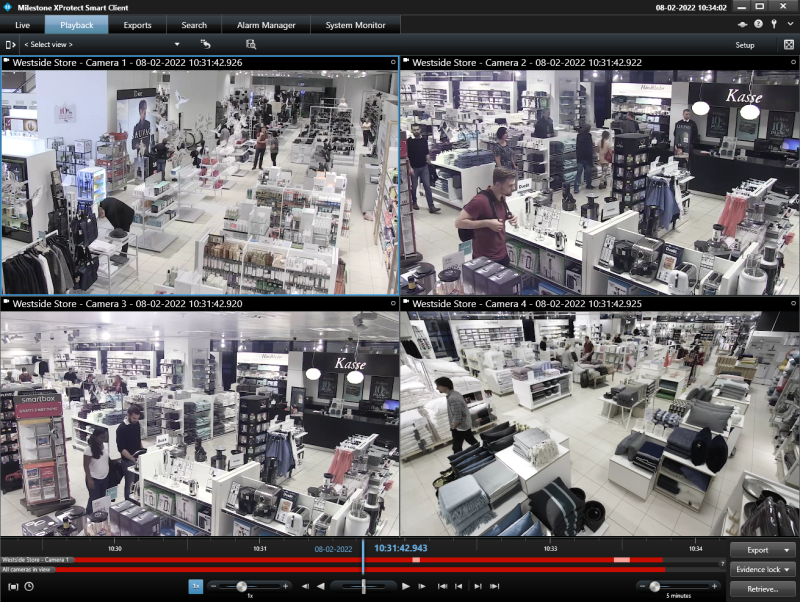
When interconnected cameras are configured to be played back directly from the remote site, the recordings are retrieved directly from the remote site’s database and there will not be a media database on the central site recording server. With this configuration, the timeline for both the operators on the central XProtect Corporate site and the remote site’s operators will be identical, and it will not be possible to retrieve remote site recordings.
Furthermore, direct playback of remote recordings requires the remote site to be online. If the remote site is offline, the client will report an error for the cameras. Finally, any configured remote retrieval bandwidth limits or time restrictions will not apply with this configuration.
Playback recordings from the central site and retrieval of remote recordings
When interconnected cameras are configured to record and play back recordings in the central XProtect Corporate site, the camera will appear in the XProtect Smart Client just like any regular camera.
However, if the XProtect Smart Client operator has user rights to retrieve remote recordings, the camera timeline will display additional information and will offer a function to retrieve the remote recordings.
This is indicated by a grey pattern in the normally black space between recordings to indicate there might be recordings on the remote site that can be retrieved by the XProtect Smart Client operator.

Retrieving recordings from the remote site is done by selecting the time period and the cameras to retrieve from in the same way as when selecting a time period to export.
Either – Click the  button and select the desired timespan graphically on the timeline, or click the
  button and enter the desired timespan directly.

When the time span has been selected, the cameras to retrieve recordings from can be selected by clicking on the checkboxes displayed for each camera (the current camera is selected by default).

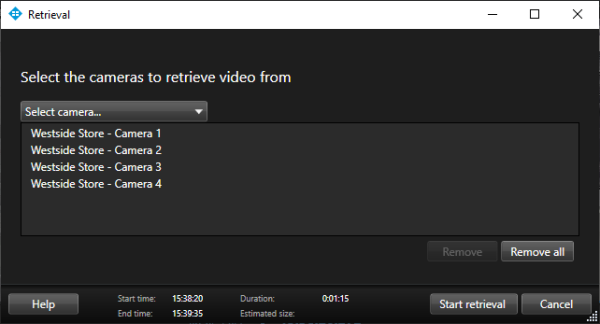
When the timespan and cameras in the view have been selected, the retrieval job is created by clicking the ‘Retrieve…‘ button. This will open the ‘Retrieval’ dialog where additional cameras can be selected if needed. Clicking the ‘Start Retrieval’ button will create the retrieval job.
The created job will be indicated on the timeline by a lighter grey pattern, as shown here.


When the retrieval job is complete, the timeline will show the periods with retrieved recordings with a light red color and periods that didn’t have any recordings on the remote site with the standard dark grey background.
If a bandwidth and time limitation have been set for retrieving recordings from the remote site, the remote recordings will be retrieved when the retrieval time-period allows it and with the maximum bandwidth specified. If these limitations have not been set, the recordings will be retrieved immediately and at the highest speed possible.
Retrieval Jobs
When a retrieval job is created, it will display the progress in the top of the XProtect Smart Client in the same way as export jobs are.
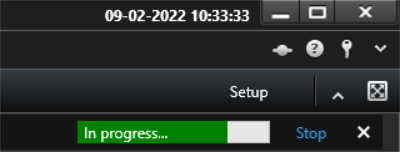
Hide the jobs shown by clicking on the  button or remove the individual jobs from the list by clicking on the
  button (it will not cancel the retrieval job). To cancel an ongoing job, click the Stop button.
For a complete overview of all jobs, pending, in progress, stopped, or completed, the ‘Jobs‘ overview can be used. It can be found by opening the ‘Status’ dialog and selecting the ‘Jobs’ tab.

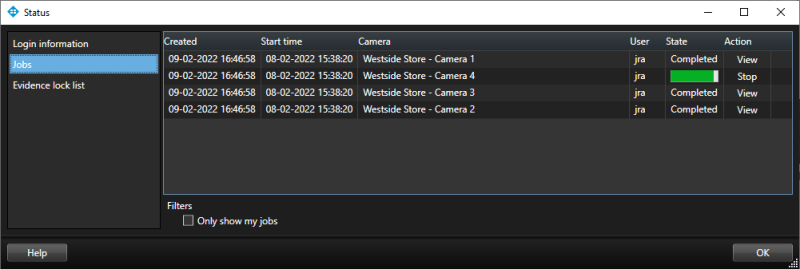
If necessary, the ongoing or pending retrieval jobs can be canceled by clicking on the Stop button.

Users will be prompted to confirm that the retrieval should be stopped.
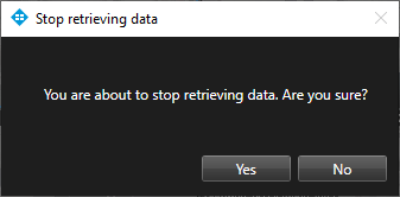
Note: If an ongoing retrieval job is stopped, the recordings that have already been retrieved will not be deleted from the central site’s media database.
If the operator wants to view the retrieved recordings, this can be done by clicking the View button.

When clicked, a floating playback window will open showing the camera at the beginning of the retrieved time period. The operator can now play back the recordings easily or export them for other purposes.
